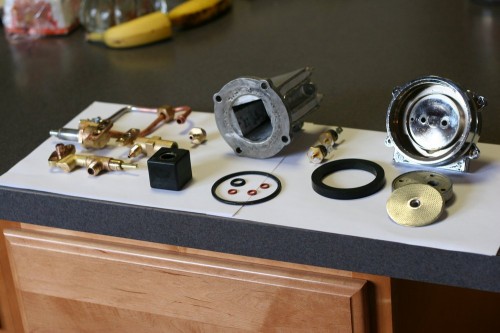
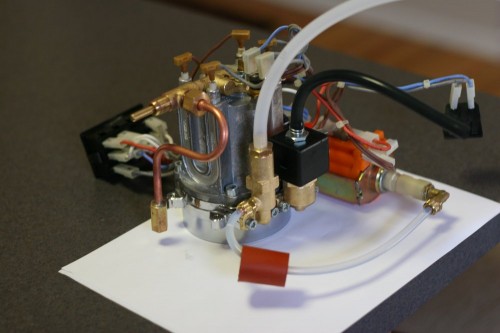
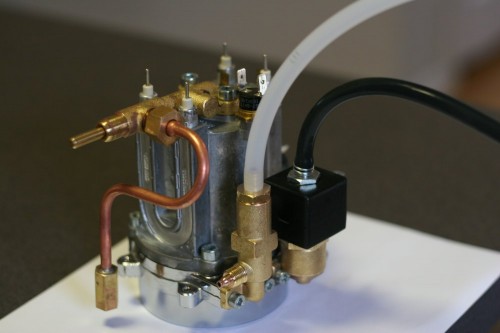
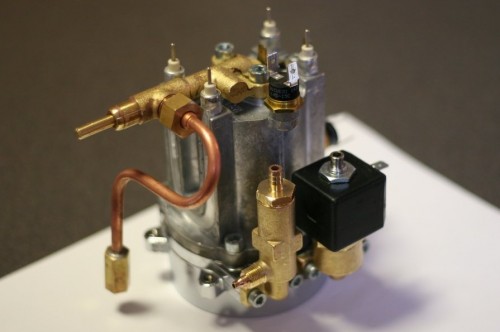
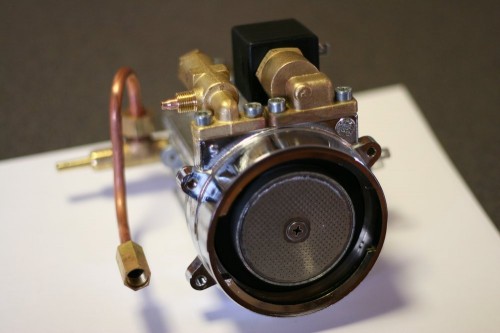
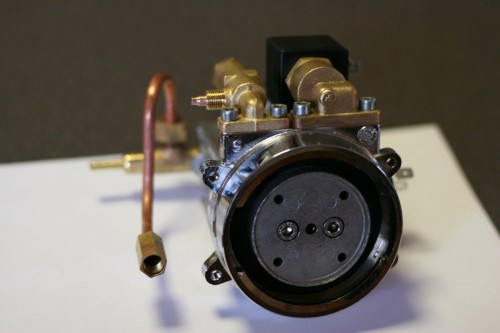
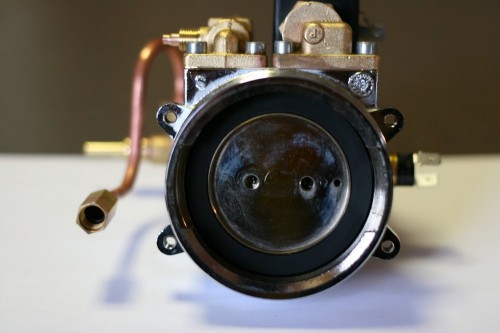
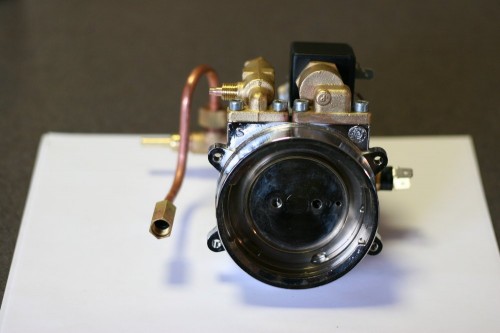
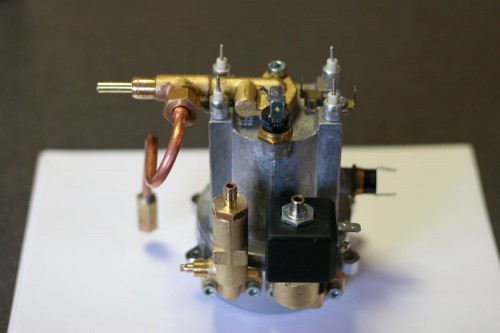
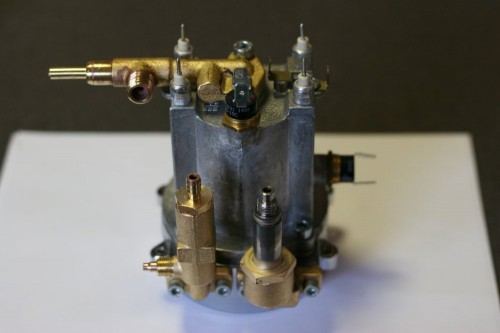
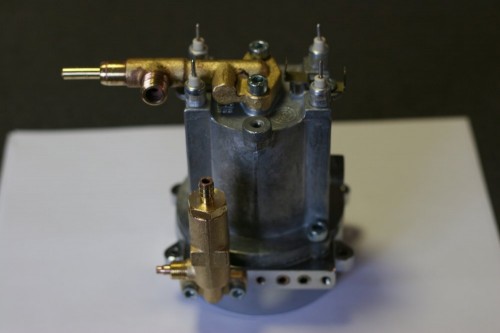
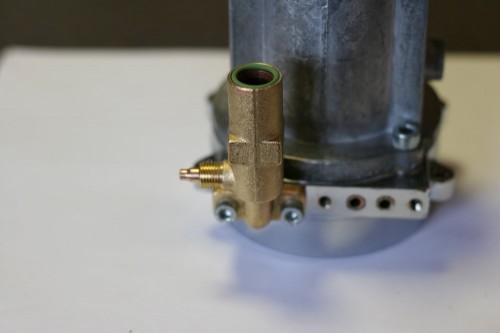
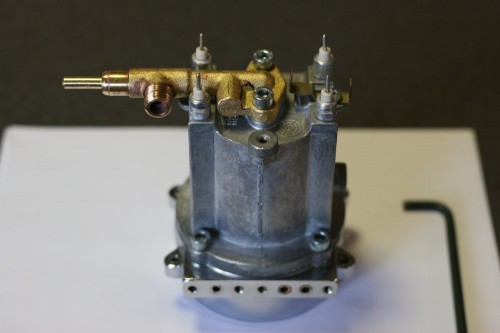
I recently purchased a used Gaggia Classic machine on Amazon. After realizing that it was not as “lightly used” as the seller denoted, I took apart the entire machine to clean it up. I’ve written this guide as a teardown guide, but feel free to read it from bottom-up to get a clear understanding of how to assemble this machine. Feel free to drop a comment if you have any questions or information to add.
Tools
Before you start out, I would recommend purchasing a few tools (most available at your local hardware store):
- Brass brush
- Metric allen wrench set
- Citric acid or espresso machine cleaner
- Phillips screwdrivers
- Pliers or a crescent wrench
Note: You can buy citric acid at many bulk food stores for a reasonable price
Remove the Boiler
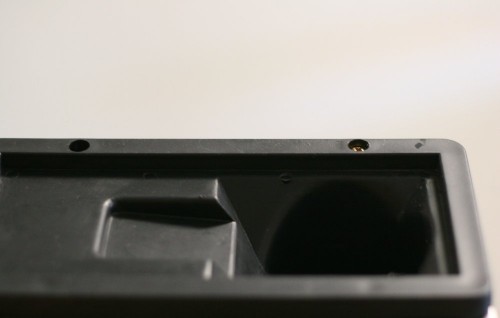
Begin by removing the two attachment screws on the top of the machine by the water spout. The top plastic water spout / sheet metal assembly should pull off towards the back of the machine.
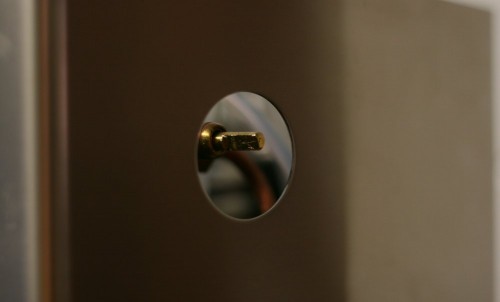
Next, pull the steam wand knob off (it might take a bit of effort). Note that the valve in the photo above is a bit offset, this is due to my machine being damaged. Yours should (hopefully) be centered in the hole. You’ll also want to pull the push-on connectors off of the power connector on the rear of the machine, and pull all the cables off of the front switch. I recommend numbering each of these connectors before pulling them off so you can easily reconnect them.
Flip the machine over and use allen wrenches to remove the four bolts attaching the group to the chassis.
After removing these screws, your boiler should be free. Remove the boiler from the chassis and place it in a clean work area. Note that things might get messy and/or moist very soon.
Using a standard or crescent wrench, remove the chromed steam wand from the copper steam pipe. This will allow you to set the group down on a flat surface without damaging the copper pipe.
Next, detach the electronics and pump from the machine. You will need to detach the pump hose from the OPV and unplug all push-on connectors. If you leave your wire assembly as-is after you unplug all connectors (don’t bend or crush the wires!) you should be able to easily see where all of the wires connected to for reassembly.
To make life easier, remove all hoses from the machine. You should only need to remove the 3-way solenoid hose and the OPV hose at this point.
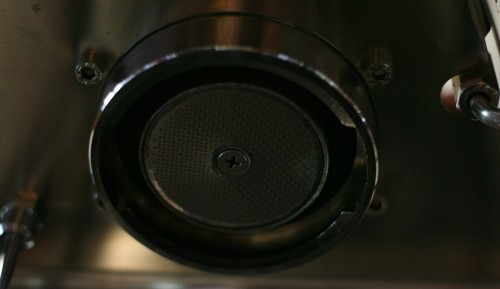
Now flip the boiler on its side. You’ll see a phillips screw head in the middle of the shower screen.
Remove the phillips screw from the shower screen, and then pull off the shower screen itself. If it is stuck due to calcification or coagulated coffee compounds, use a small flathead screwdriver to pry it off.
Now grab an allen wrench and take off the metal block that resides under the shower head. You should now be able to see the top of the group.
Using a plastic spudge, flathead screwdriver, or even your fingernails, carefully pry up the rubber gasket from inside the group.
Now flip your boiler assembly back up on end.
Using a wrench, remove the steel nut from the top of the solenoid valve. The black solenoid coil should slide off freely. Next, unscrew both of the thermal switches from the top and the side of the boiler. The high temperature switch goes on top, and the low temperature (brew) thermal switch goes on the right side of the boiler.
Now remove the solenoid valve assembly from the boiler using an allen wrench. You might want to take out the rubber o-rings for cleaning if they are badly calcified.
At this point you can unscrew the hose fitting on the top of the OPV. This is most easily done when the assembly is still attached to the boiler.
Now unscrew the entire OPV assembly from the boiler. Once again, you might want to remove the rubber o-rings for cleaning if they are looking shabby.
Now is the time to remove the steam valve. This step can be a bit tricky, especially if your machine is older. I recommend removing the two bolts and twisting the valve back and forth. After some twisting, use a flathead screwdriver to carefully pry each side of the valve until it comes free. Don’t be too aggressive, as brass is a soft metal. You’ll probably want to remove the rubber gasket as well, mine was very calcified.
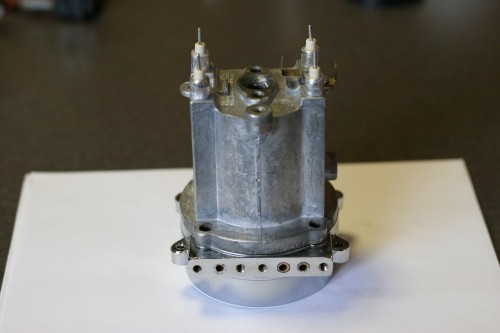
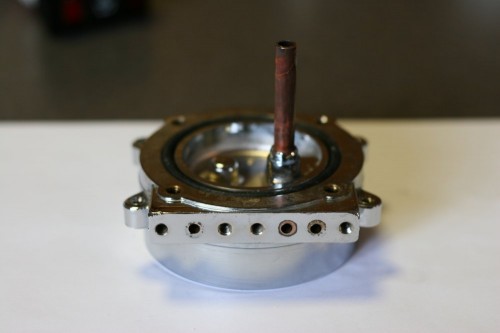
Next, remove the four bolts attaching your boiler to your group, and your machine should be fully disassembled! You’ll want to remove the rubber gasket from its slot in the group, if you have an older machine this gasket and its slot will definitely need some cleaning.
Cleaning
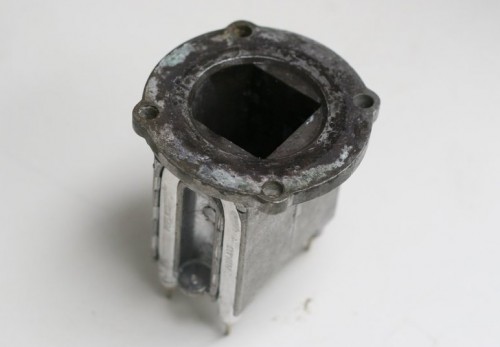
Your boiler probably looks something like the photo above and/or it might look white with calcification. Pretty nasty. If you have a lot of white calcification, a brass brush (available at most hardware stores) will take care of it. If you have a lot of oxidation and black residue like I had, a dremel tool with a stainless steel brush attachment will get the job done.
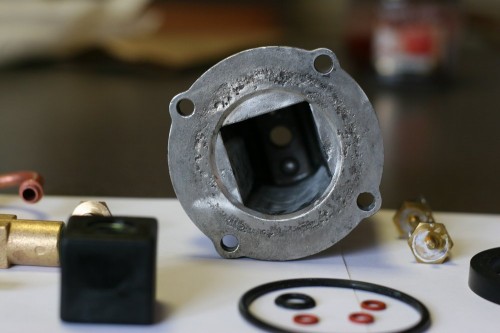
Above is my boiler after significant dremeling and brass-brushing. It’s not great, but it’s good enough for me. Although the aluminum around the seal is very pitted, I haven’t experienced any leaks whatsoever.
To clean the rest of your components, I recommend soaking them in a solution of citric acid or special-purpose espresso machine cleaning solution (available at many online retailers). This will remove significant amounts of calcification.
If your machine is as old as mine, you might need to do some more intensive cleaning. Try using a brass brush with your citric acid or espresso machine cleaner solution. Use the brush to clean off brass fittings (especially the steam valve fitting), the group, and any other metal components. This should take off any lingering calcification or other gunk.
Now that you’ve cleaned everything up, it’s time to put things back together! If you need additional help, just read this guide backwards to get a good idea of how to re-assemble machine.
